Drilling a tank has a risk involved, but it is manageable. It’s done with common tools and a drill you probably already have.
Even if you see it demonstrated, you might not know what you should be doing. Some of the info in this post is deliberately redundant just because there are a couple of
things you must not overlook.
Equipment
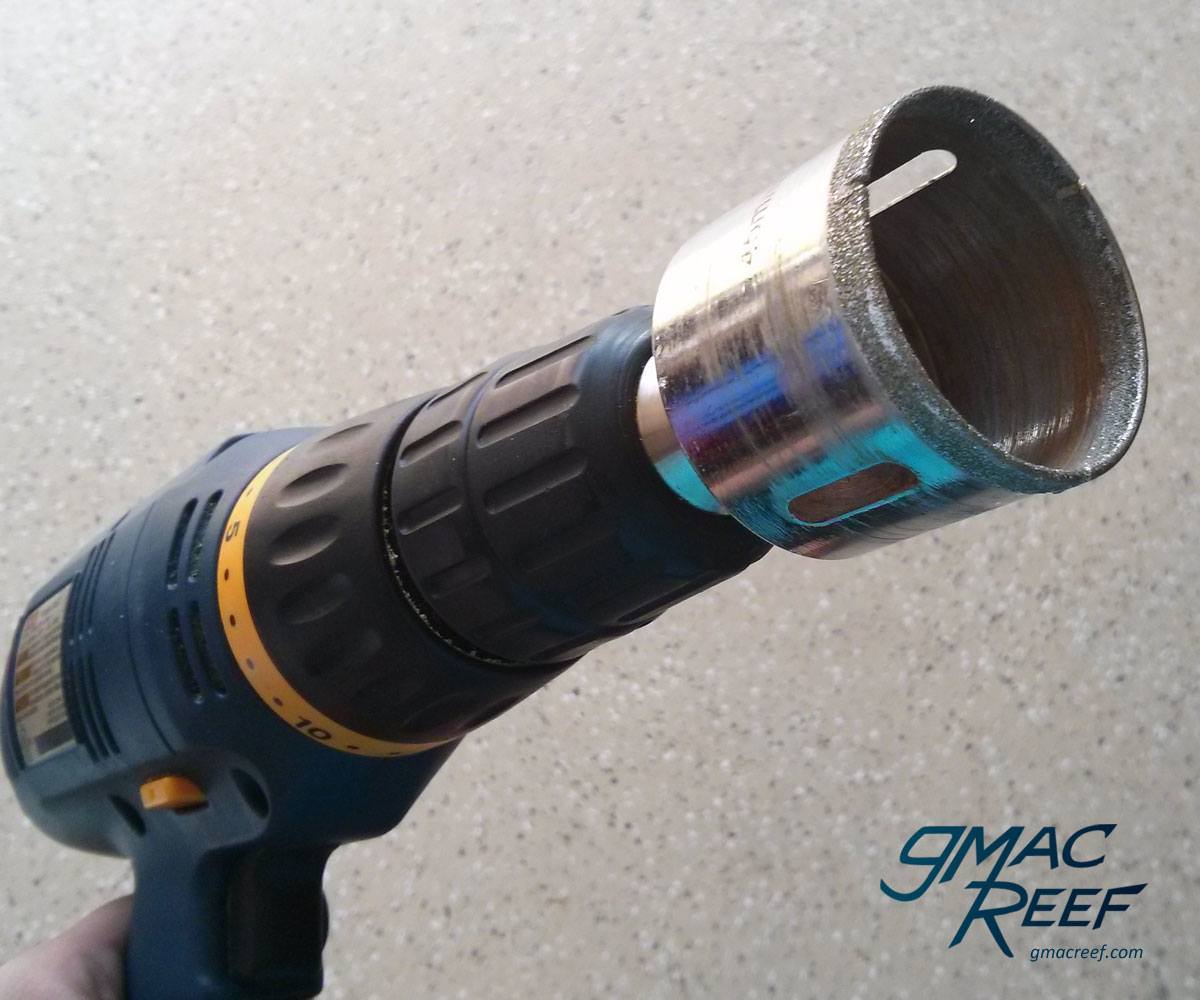
Drill bits for glass are called Diamond hole saw bits. They are also used for drilling some types of stone. They don’t work quite the same way as a wood hole saw bit. For one, they don’t have teeth. It doesn’t matter what direction the bit rotates.
With wood, pushing the drill and bit down hard is what creates the hole — you can go as fast as you want. Not so with glass.
With a glass hole drilling bit, diamond particles are fused to the metal. They scratch their way through and wear down the pane gradually, turning it to dust.
Your technique when drilling matters most, but you also want to make sure your bit is relatively sharp and new. Many cheap diamond bits will get significantly duller after only a few holes. A dull bit can still work, but here’s the thing. A dull bit takes longer to make the hole – which may tempt you to push harder. Pushing harder increases the chance of chip-out 😬 – or cracking the tank 💰🚽.
Technique
Pressure: If you haven’t drilled an actual tank, you may want to get some scrap glass at roughly the same thickness as what your tank is in order to practice. Rule #1 is: take your time and let the bit do the work. Using hard pressure to push down on the bit will result in the hole chipping out or worse, ruining the tank by cracking it.
Time: Almost every video you will see on YouTube about drilling glass will show the process, but they will often edit the video to shorten it – I mean drilling glass isn’t that entertaining. But don’t be fooled – while using a hand drill, it may take 5-10 mins to safely drill a clean hole in thick glass.
Angle: The angle you drill at is also very important. Ideally, you will use a drill press, but that isn’t always practical with large tanks. Take care to hold the drill steady and at a 90 degree angle to the pane of glass. A spotter can help with this. Take care to not angle the drill when you are most of the way through because the drill will act as a lever on the glass. Slow and steady.
Drill: You can use just about any kind of household drill – make sure it’s just the traditional kind, not a hammer drill or impact driver. Some models will have an adjustable clutch. You will want to adjust the clutch to it’s lowest setting. This will make it less “grabby” and if the bit stops while drilling, that means you are pushing too hard.
Hole placement
Holes need to be a sufficient distance from the edge of a pane of glass in order to retain the structural integrity of the tank. The diameter of the hole is the measurement that determines this. From the edge of the glass to the edge of the hole, there should be at least the diameter of the hole in distance. From the center of the hole, it works out to 1.5X diameter. Holes in proximity should be 2X diameter apart on center.
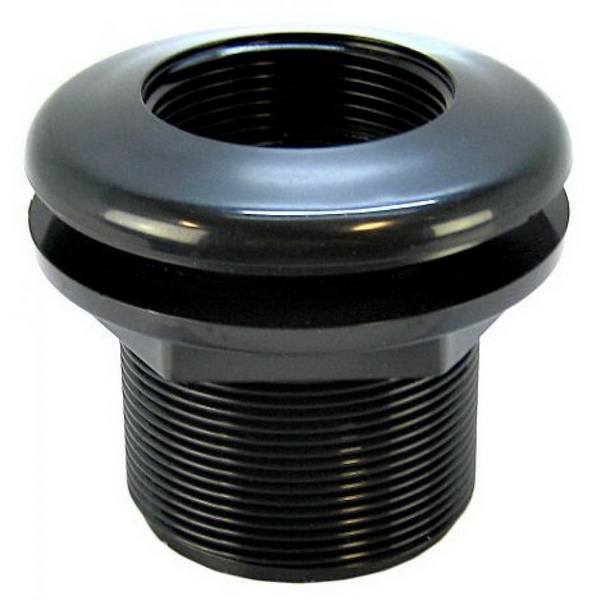
Plumbing parts are supposed to be standardized, but you will find small differences. It’s best to get your plumbing parts and bulkheads prior to doing any drilling.
Glass Strength and Lateral Forces from Plumbing
Bulkheads and plumbing affect how the tank distributes force. A rigid bulkhead and length of pipe can act as a lever that will place forces on the glass. Once you install a bulkhead, make sure that you don’t let the tank rest with it’s weight on the bulkheads during storage or moving. – This is a universal rule for any drilled aquarium.
This is another reason why I like flex PVC so much, as it will give before putting excessive force on the glass. It won’t stress the tank if bumped by a child, dog or clumsy owner.
Glass Thickness
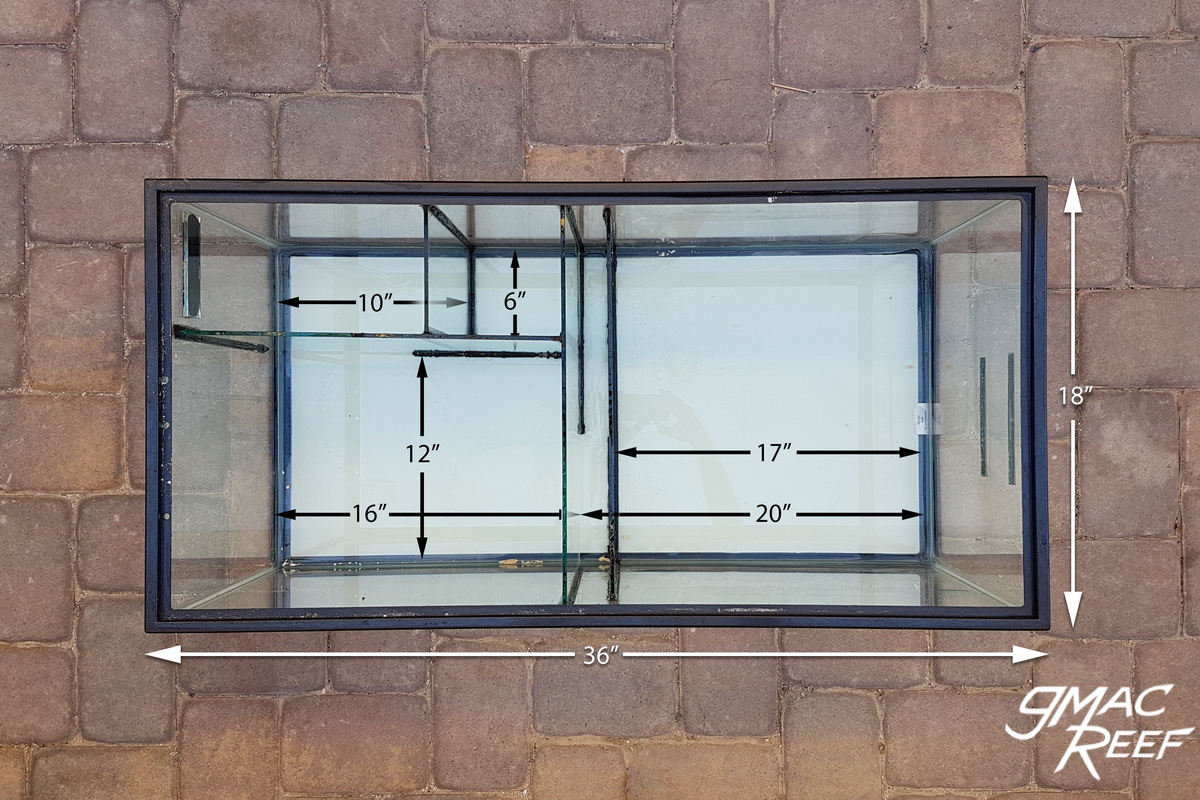
The number I tend to lean towards is 40 gallons for the minimum size of tank that should be drilled. A 40 gal breeder (36″ X 18″ X 17″) has 1/4″ (6.35mm) glass which can withstand the forces of drilling and having plumbing hanging off it. Many stories of cracked tanks involve people drilling something under 40 gallons.
Tempered or Not Tempered
Tempered Glass is heat-treated for strength and safety. If you attempt to drill it, it will shatter into many tiny pieces along with your perception of how intelligent you are.
On many standard tanks offered for sale that have rims on top, the bottom is tempered but the sides are not.
It’s fairly easy to find out if the tank is tempered with polarized sunglasses and a laptop with an LCD screen.
First, you want the screen mostly white – the easiest way is just to go to Google.com with the white background. Put the white screen device behind the pane in question and look at it while wearing the sunglasses.
Next, turn the device’s screen like a steering wheel – watch closely as it goes from white to black and then back to white.. If the screen is total black, the glass isn’t tempered. If you see streaks through the blackness, it’s tempered.
Tempered glass can often have a couple of other telltale signs. For one, They will often be more rounded than your average piece of scrap non-tempered or plate glass. This is sometimes because a pane of glass will often have the edges rounded or polished before being tempered.
Also, you may be able to find a stamp in the corner that indicates that the pane has been tempered. These stamps can wear off, but may still have some ink on the glass. If you see these signs, the pane has a good chance of being tempered.
While non-tempered glass is easy to score and break, tempered glass is much stronger. They say up to 10 times as strong! This means it will not score as easily. Non-tempered glass has a distinctive sound it makes while being scored. If forced, (and it will take a lot of force) it will shatter LOUDLY. Not a good way to wake the house up!
New Page!
For more info on working with glass in general, check out the new Reef Tank Sump DIY Construction page. It has info about types of glass, cutting it, and installing into a sump with silicone.
Bit cooling
Cold running water over the cutting bit keeps its temperature down and carries dust away. The best thing you can do is use a hose on very low flow and direct it over the bit. Use freshwater. Take care not to get your power drill wet for obvious reasons.
Many demonstrations show drilling a hole in glass using a ring of putty or clay. The ring is fashioned around the hole to be drilled and then filled with water. This works, but doesn’t allow you to use a wood template to put the hole exactly where you want it. It also means you can only drill straight down which isn’t always possible.
If using a stream of water from a hose then the whole process becomes a little easier to view. this is because the water remains clear so you can see how far you have drilled through the pane.
Getting the hole started
First – make sure that your drill is correctly adjusted. If there is a clutch / torque setting – make sure it’s on the lowest setting. This is commonly adjusted with a collar ring just behind the drill chuck.
You may see some people angle the bit to about a 45° angle so that the entry angle focuses the bit force onto one spot. The cut starts to form a “C” shape and acts as a guide so the bit doesn’t skate around the surface of the glass before it can start.
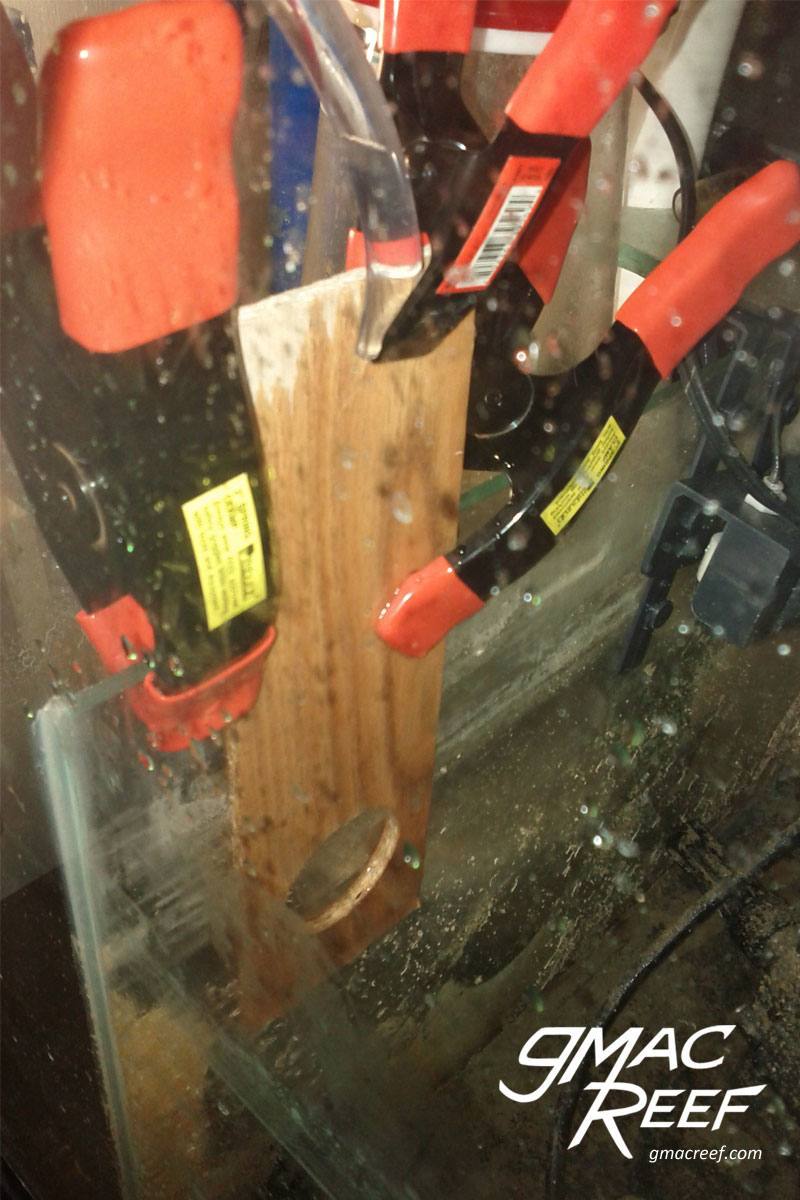
I have found the angle-in technique a little difficult if you are looking to precisely put your hole where you want it. A thin piece of wood used as a guide works well. To make the guide, use an actual wood bit the same size as your diamond hole bit to make a hole in the wood piece. A thinner piece of wood is better because it will allow water to flow into the hole.
Now you can clamp the wood piece to your glass panel or get a helper to hold it while you drill. Once you get the hole started, you can remove the wood guide in order to get a better look at the bit and see how much longer it must travel you have before you make it all the way through the pane.
Drilling Technique for a Clean hole
For the best possible result, you should drill the hole from both sides. It may take slightly longer, but if your goal is to do it right and get a clean hole with no chip-out, then it is the best method.
First, start cutting through the pane, but stop cutting when about 75% of the way through. Then carefully line up and secure your wood hole template to the other side of the pane. Start drilling with light pressure until all the way through. It may take some time to line up the hole again on the other side.
If you are only able to drill from one side of the pane, technique and steadiness is more important to reduce chip out as the middle piece breaks free.
Towards the end of the cut you want to make sure that your pressure is soft, and let the bit carve the last way through. Excessive pressure at when you are almost all the way through can chip out the hole.
Changes in the angle of the bit can also result in chipping. You must put effort into holding your angle steady for the last few millimeters of the cut. If you feel yourself getting tired or shaky then take a break and come back to finish the last few millimeters.
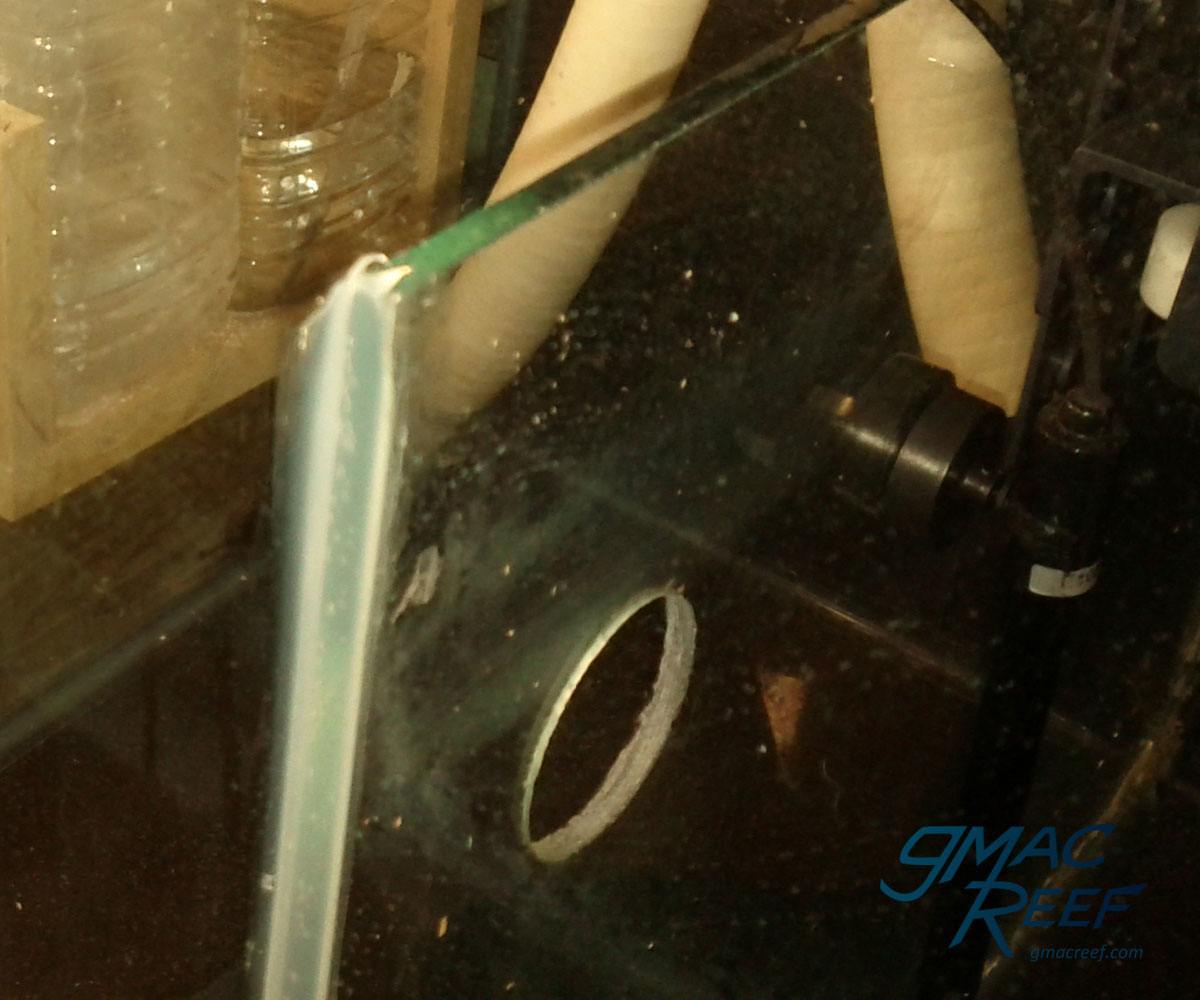
Very small chips on the edge of the finished hole are generally okay, but a significant chip can compromise the seal of a bulkhead.
Don’t let the Puck Drop
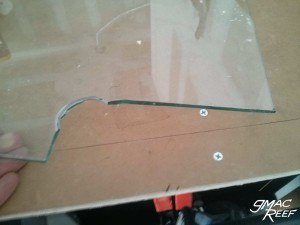
The circular puck of glass you remove is going to fall out. Don’t let it hit the tank. The glass circle can potentially chip the tank when it falls. Take care to catch the puck with a towel or secure it with tape prior to drilling all the way through. Applying Tape to the opposite side of the pane prior to drilling can also help to create less chipping and a cleaner hole if only drilling the hole from one side.
Drilling a tank that is full — A good idea?
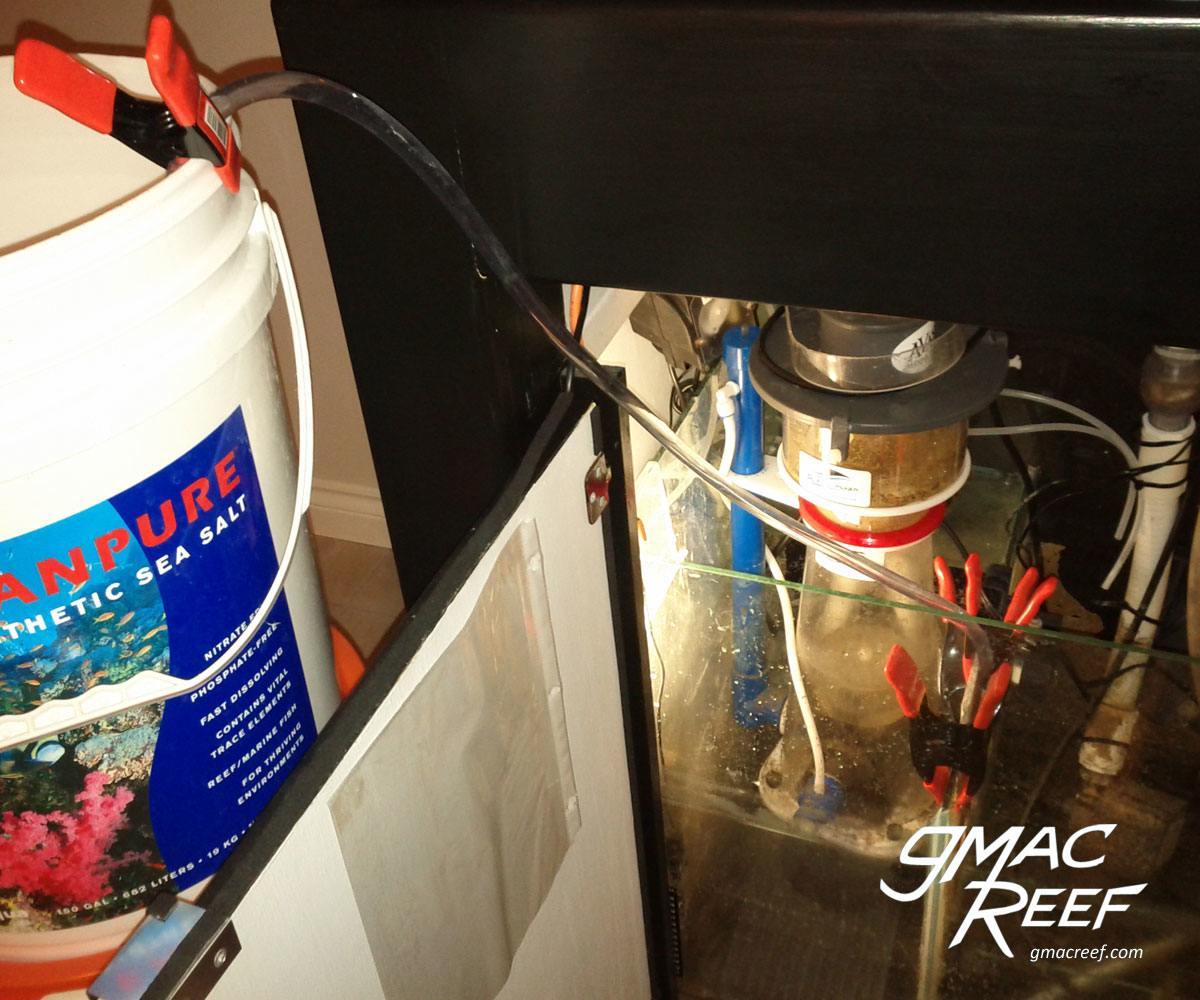
This is a decision you’ll have to make yourself, but there are people who have done it successfully. If you’re a seasoned hole driller then it maybe it’s worth the risk, just due to the fact that draining a reef tank is a major chore and stresses out all the inhabitants. It will still be more work than drilling a dry tank, but it’s doable.
You would want to drain the tank by enough so that the drilling is not affected by the water pressure.
The milky drillbit-cooling water and full of glass dust your tank inhabitants probably don’t want. It may be tricky to collect the runoff in such a way that it won’t leak into the tank.
If drilling a full tank, one challenge you may run into is how to orient the drill. To prevent getting glass fines in the tank, you will want to drill from the outside. If the tank is too close to the wall, you can’t get your drill in the right spot to make the hole. You may want to find a “close quarters” drill. These allow a hole to be drilled in a tank with only about 6″ between it and the wall.
If you have no choice but to drill from the inside, you may be able to creatively catch the drilling water before it gets in the main tank water. Some ideas are a half-bowl or container pressed onto the glass, or a shop vac fitting duct taped under the hole to vacuum all the water. You’ll most likely need a helper for this. If you come up with a solution for this, please email me a picture.
Even if you have a lot of experience drilling clean holes, there is always the chance of cracking the tank. You may just want to prepare for this with several containers to hold your livestock and rock if the worst was to happen.

What is the safe distance for drilling 1″ Herbie overflow on the bottom, from the hole to the sides on 8mm glass?
The rule of thumb for safe distance is 1.5X diameter of the hole from the edge of the glass, or to any other holes.
The minimum distance is 1X diameter of the hole, which would be 45mm. The ideal distance is 1.5X diameter of the hole, which is about 68mm. More is better.
I have a 120 gal that I want to drill and use the herb sump configuration. Unfortunately I will have to drill from the back of the tank. Is the 45 angle for the stand pipe and emergency in the over flow gonna be a issue with this? What size bulk heads are you recommending? I’m thinking one inch pipe. Thanks and great site!
I’m sorry 90 degree.
1″ pipe is fine, and no – the angle is not a problem. Thanks.
I’d like to drill the bottom of my 120 gallon. Ideally a bean animal drain, a return pipe and possibly another for water changes totaling 5 holes needed in the tank. Is this too many? If not, how should I place them? Could I line them all up on one of the narrow ends of the tank with a weir sectioning off this entire area. Ideally that’s what I’d like to do, just worried about too many holes in one area.
There isn’t necessarily a limit to how many holes you can put in the glass. Make sure you have the minimum clearance between the holes and the edges of the panels, and between the holes themselves. I don’t think having a standpipe just for water changes would provide much benefit.
With 1″ bulkheads, you are looking at about 6″ in width for the overflow box. This may be a lot of room to give up in the display.