Reef rock aquascaping is easy with the right tools. It can be a decent amount of work, but it is satisfying to make something completely custom in your tank. This post goes over all the steps involved in taking dry rock and creating a stable rock structure.
Securing your rocks has a few advantages, aside from just getting away from the typical pile of rocks you see in so many reef tanks. Creating a structure means the rocks won’t be knocked loose for any reason. This protects your corals and livestock from falling rocks and makes it a lot easier to work in the tank with your hands.
Many of the same techniques apply to wet live rock as well, but cement needs a few hours to cure. This means wet towels or newspaper must be used to to wrap them while they are out of the water. This will minimize die-off.
Planning your Rock Scape
A good place to start getting ideas is by looking at other people’s tanks. A good thread on Reefcentral is here: Aquascaping, Show your Skills…
Some General Aquascaping tips
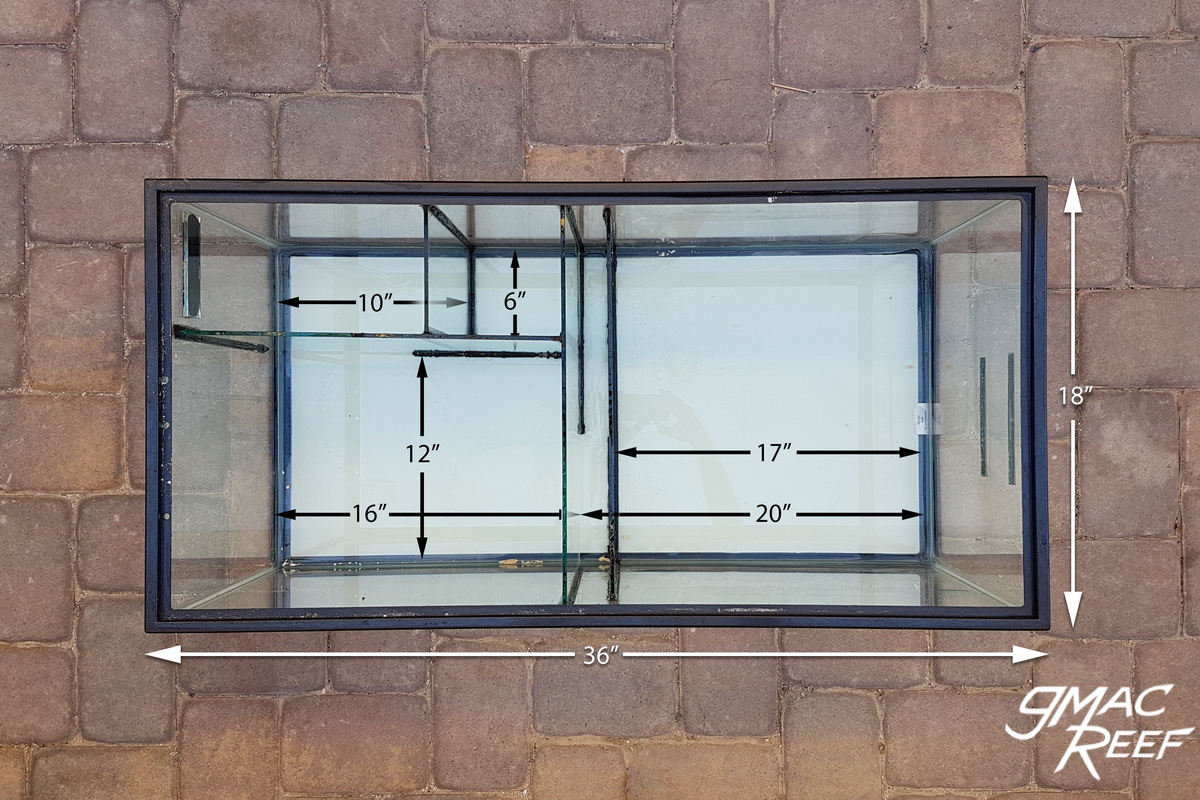
- Keep the rock from resting on any part of the sides of the tank for good flow, and to avoid scratching the tank
- Place the rocks far away enough from the sides of the tank to not obstruct your magnetic glass cleaner
- Don’t use too much rock
Things to consider with your rock layout
- Water movement – where powerheads will be located, what open areas will allow flow to pass through, where dead spots might be
- Light – What will be the main areas for coral placement, what areas will be shadowed
What to expect
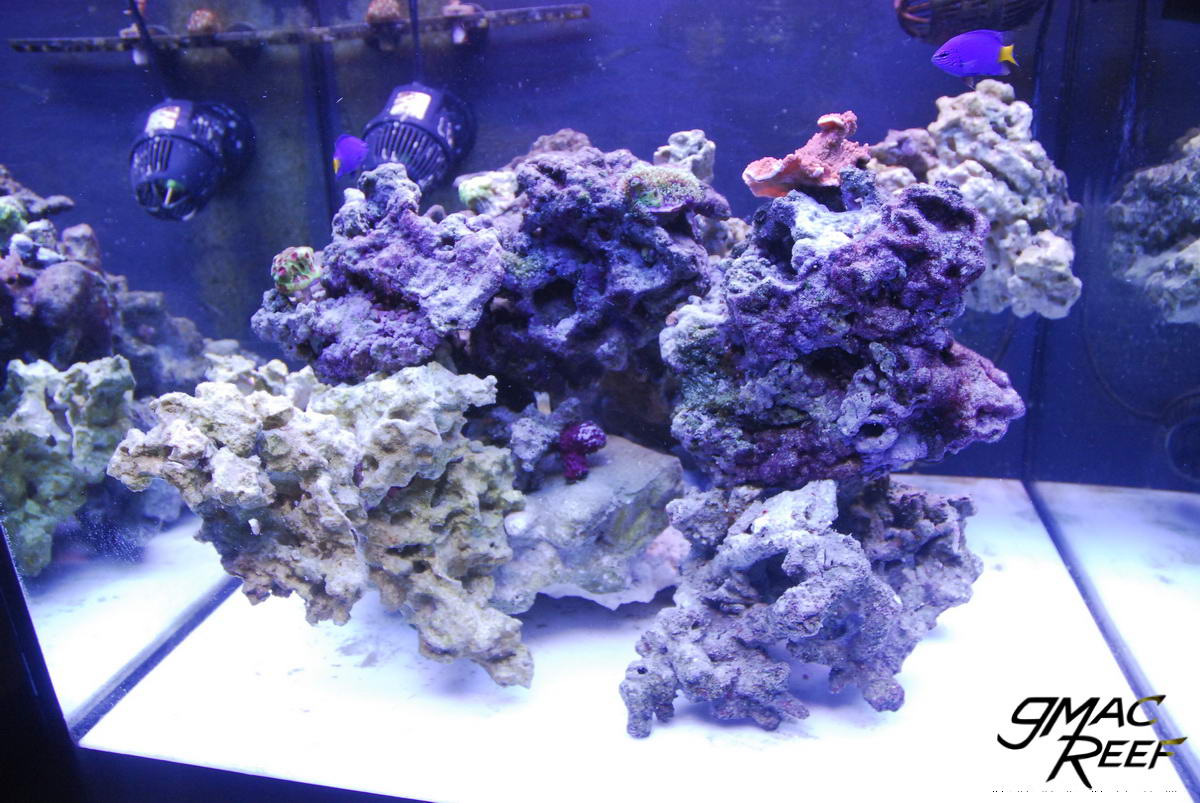
Using dry rock means it will take a while to look as good as true live rock in the tank. This may take several months to a year, depending on the tank and system. Over time, the growth of live corals and coralline algae will cover the rock structure and make it look more natural. The rate of growth will be mainly dependent on the chemistry and dosing schedule of the tank.
See this progression of photos spanning 11 months. Notice the lighter rock on the left front side. The type is BRS Reef Saver.


Getting Rock in Bulk
When you are buying rock by the pound, sight unseen, you will get some nice pieces and some not-so-nice ones. If you have the option you should order a couple pounds more and then pick and choose what pieces you use in your tank.
Large, blocky pieces of rock often won’t look all that interesting in the tank. That said, you can do a lot to the rock with some effort and the right tools. For this you can use a drill with a masonry bit, or a hammer and chisel. Holes and caves can be added to each piece, and you can split apart big pieces. This creates more hiding spots for fish and can improve flow in the tank as well.
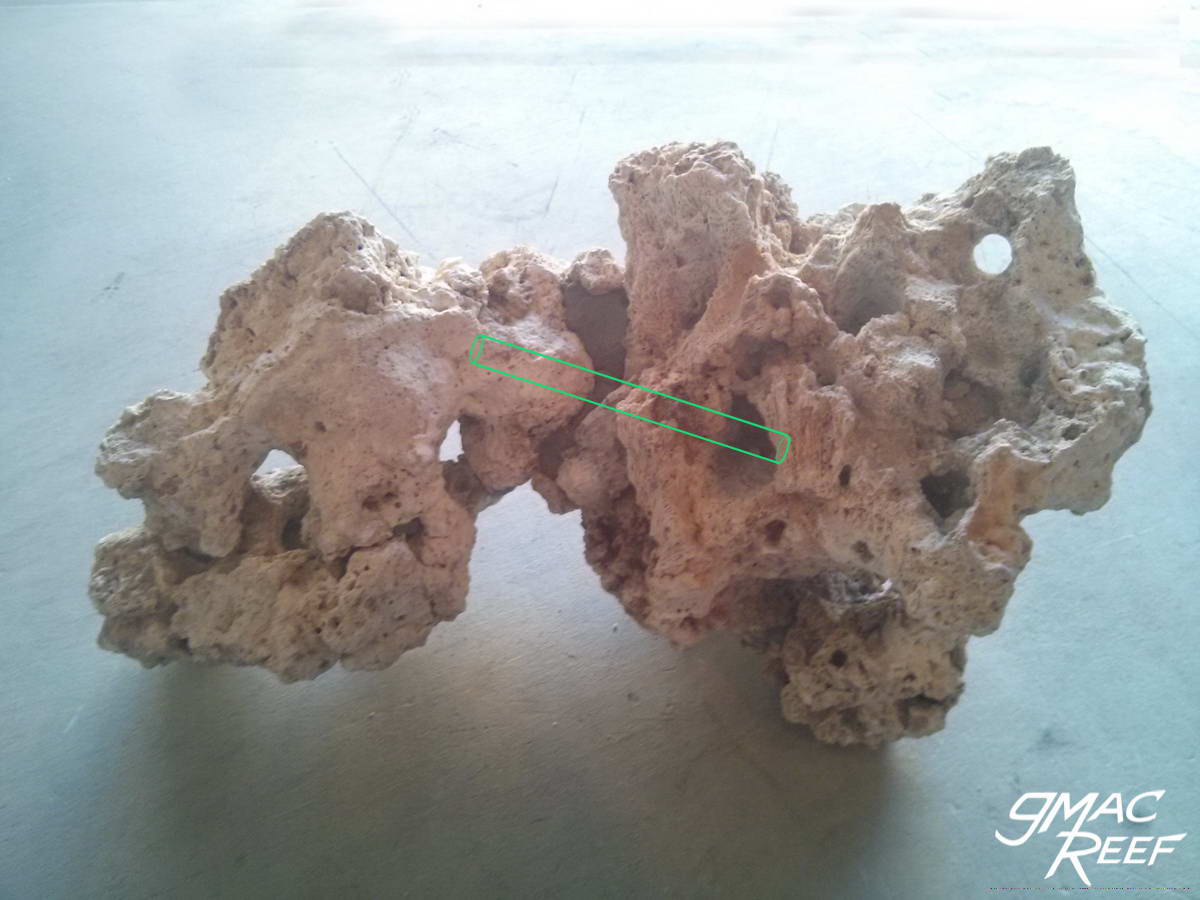
Oops! I split my rock
This is bound to happen as part of drilling, especially if you are trying to create many holes. Try to let the bit do the work and don’t press too hard. Once a split happens, the best thing to do is take a rubber band and put the rock back together right away. Otherwise, you’ll have a hard time putting the puzzle back. Set the pieces aside so you can use putty to reattach them.

Drilling and Chiseling Rock
What you’ll need for shaping and preparing the rock
Tools involved
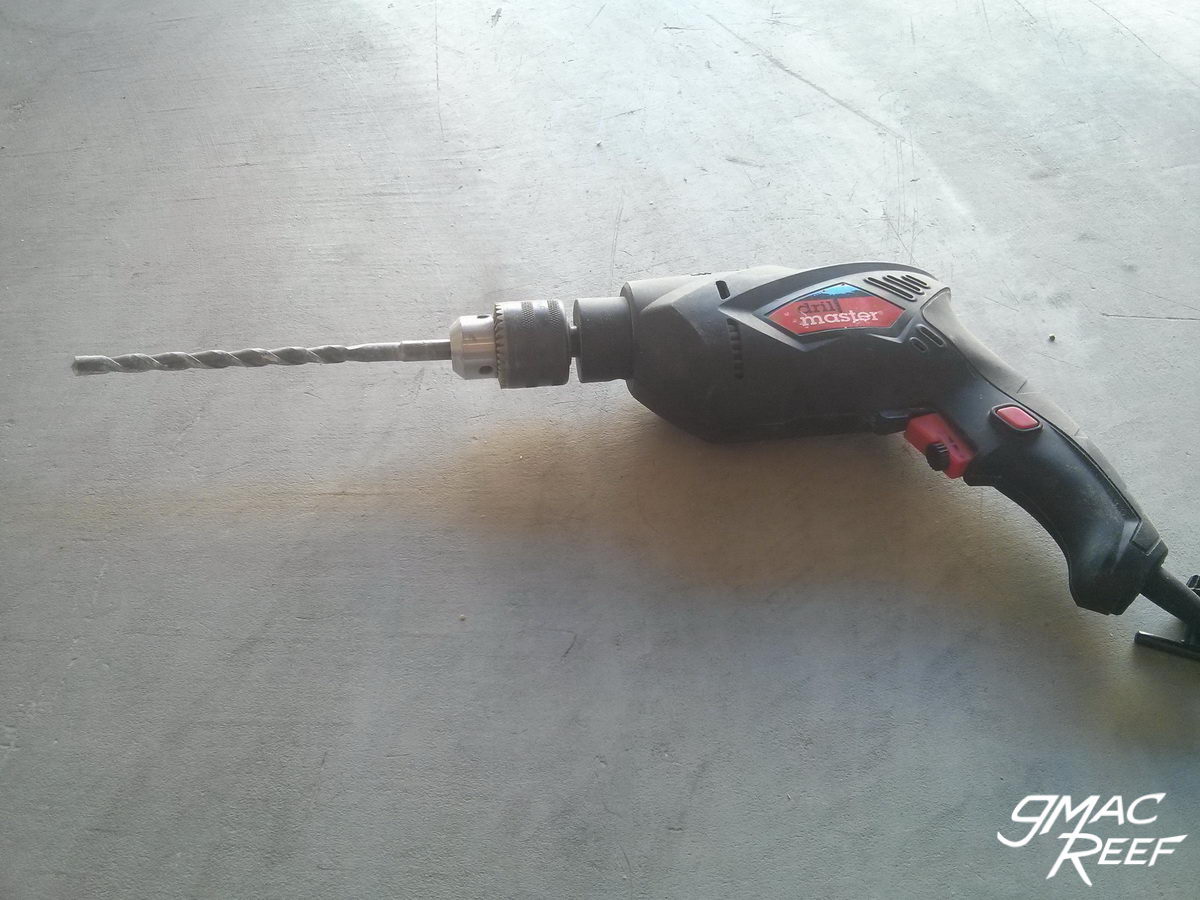
- Hammer Drill
In addition to spinning, the bit vibrates in and out. It makes a big difference! It can make drilling rocks a piece of cake. You may want to pick up a cheap hammer drill for this, because using a normal drill is going to take a lot more work. - Masonry Bit
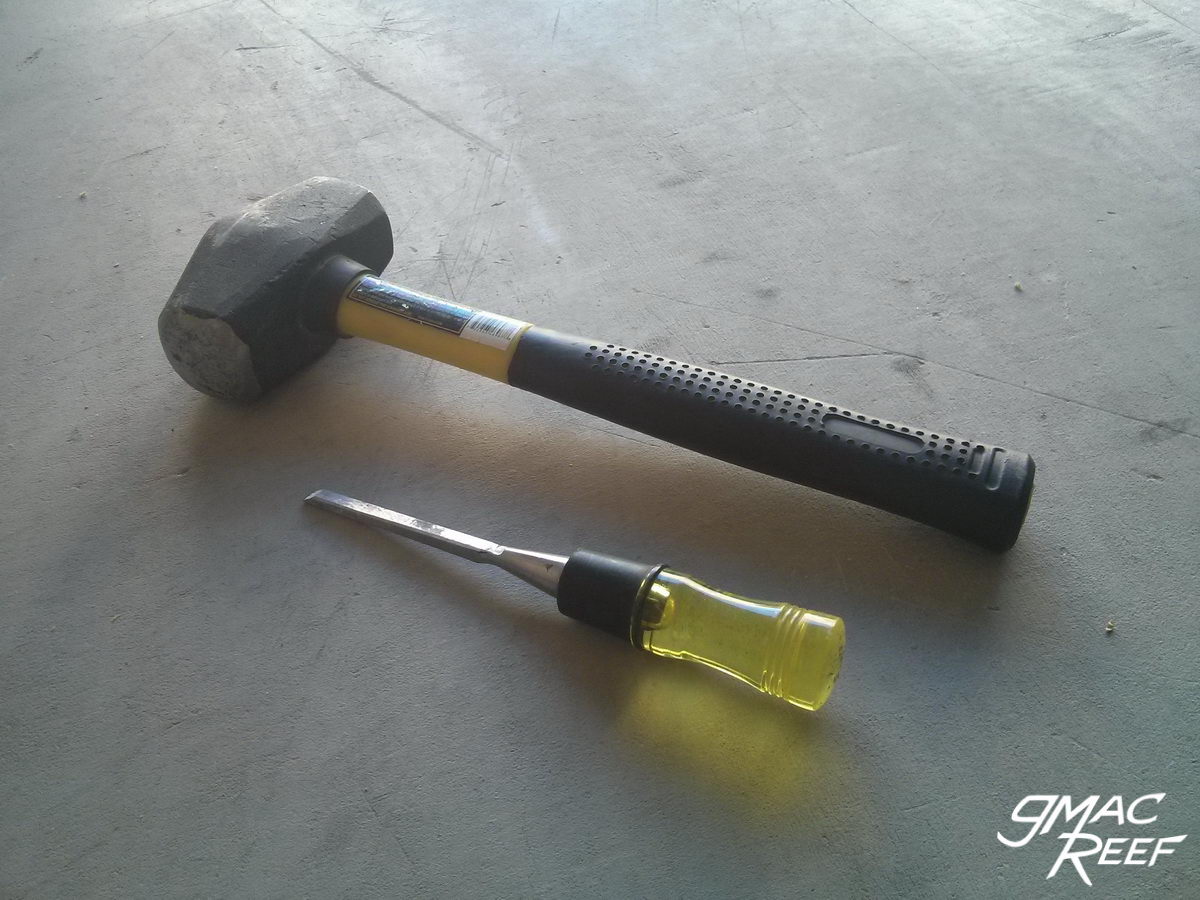
These have a spade-type cutter on the tip and are made of hardened steel. - Hammer
Mini-sledge is a good option - Chisel
1/4″ works well. Get a cheap one because it’s gonna be toast afterwards
Also useful to have:
- Air Compressor w/ blow gun attachment
- Shop Vacuum
- Leather Gloves
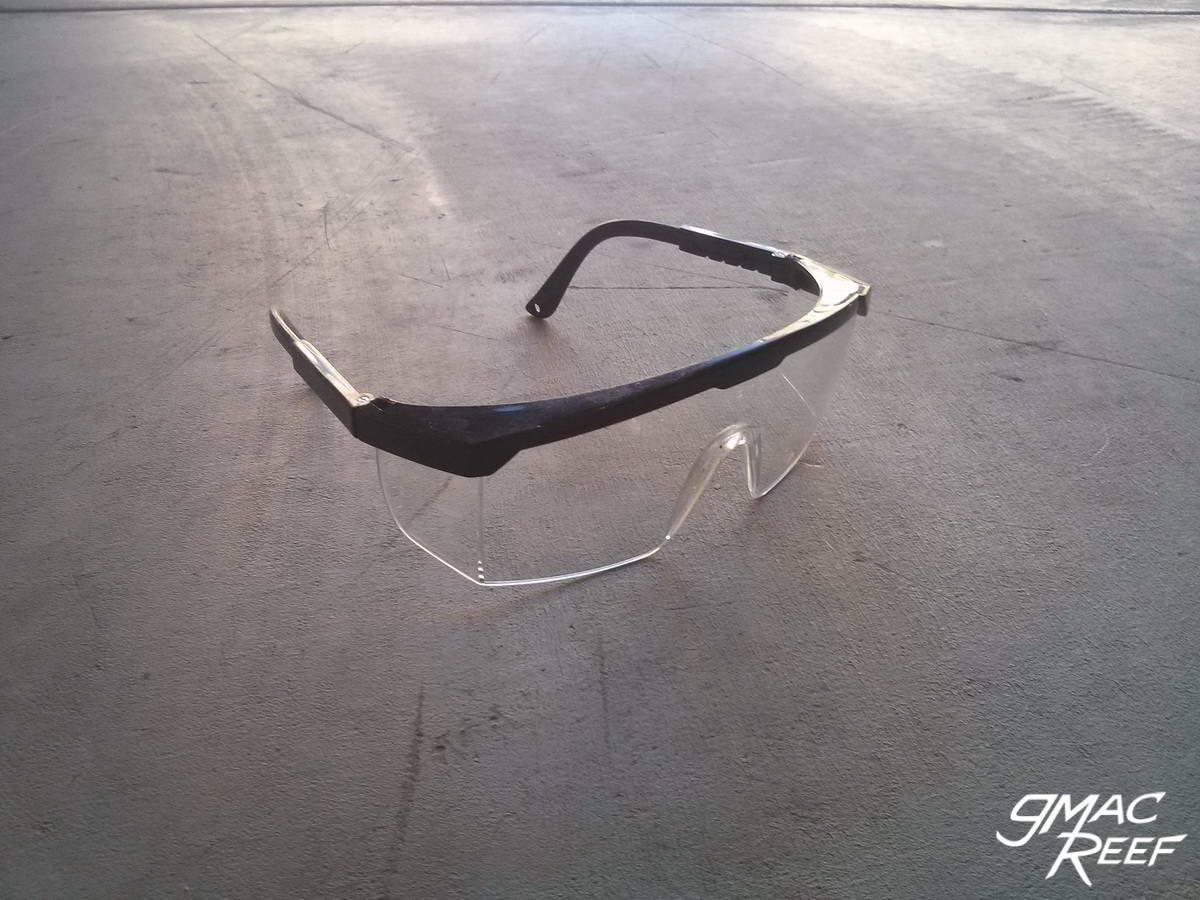
Don’t want to sound like your Mom but…
Drilling and chiseling live rock or dry rock can be hazardous. Safety glasses are mandatory. There can be a lot of shrapnel with dry rock, and there can be toxic things living on live rock that you will want to protect yourself from. Now clean your room!


Your work area and setup
Shaping your rocks is a messy job. It can take a while. You will need a good open area to work in. Doing this outdoors is a good bet. A soft ground surface like grass or gravel can also make drilling easier. A towel or piece of old carpet on the bottom will help keep the rocks still while you work on them.
If working outside isn’t an option, You can also do your drilling in a large storage bin or tote to keep most of the mess contained.
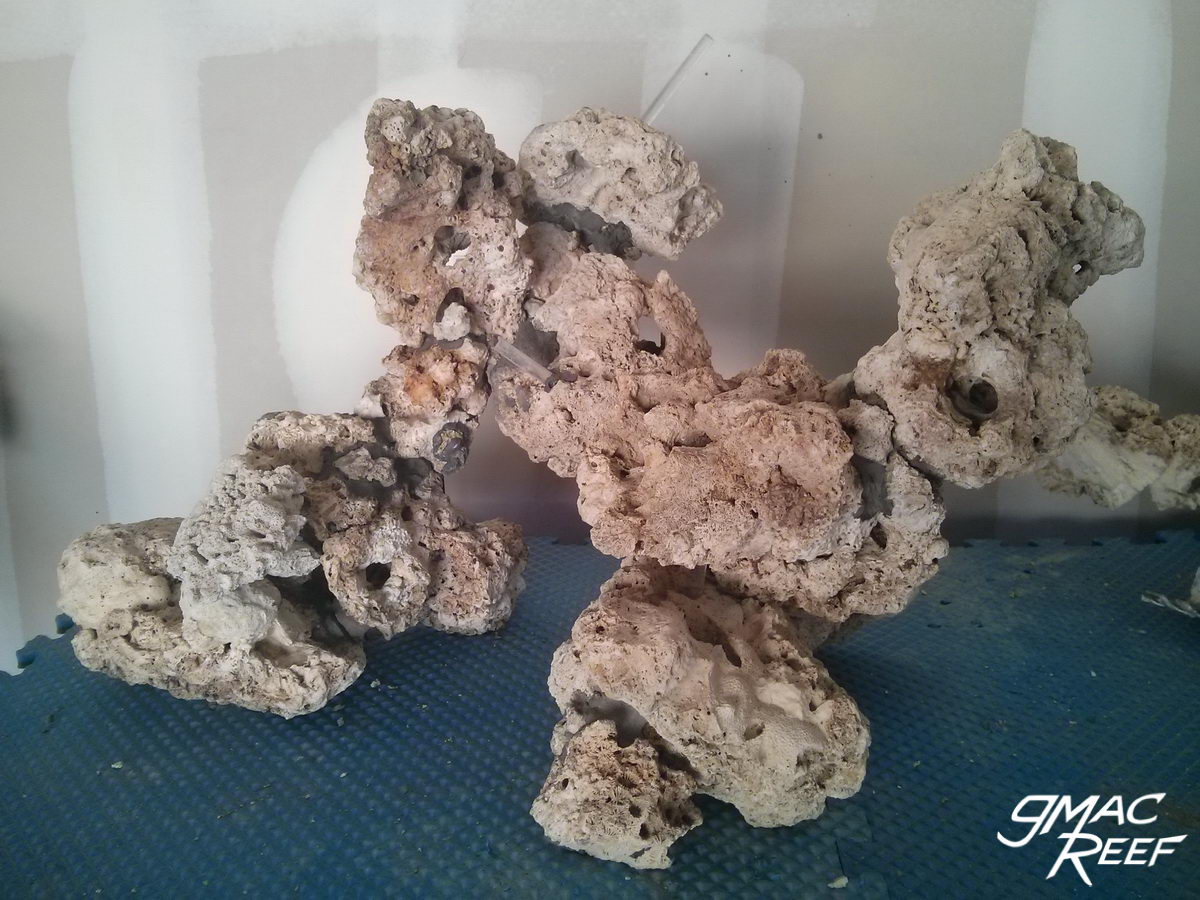
The Plastic Rod Technique
Using plastic or acrylic rods inside the rocks is a common way to add strength. The rods act as a skeleton for the structure and can be completely hidden.
Holes are drilled in each piece of rock, then sections of rod skewer one or more of them together. After the rocks are cemented together, the rod will act similar to Re-bar in concrete construction.
Small sections of rod are also sometimes used for raising base rocks up off the bottom of the tank by a few inches — usually done for better flow in the tank and to eliminate places where detritus settles.

For material, many kinds of plastic dowels can be used such as plastic coat hangers or fiberglass driveway markers. Clear acrylic rod is the most common choice because it is the least visible in the tank, however most of the rod will be covered by cement or putty anyways.

Creating a structure – Where to start
A good way to start is just by drilling a few holes all the way through the rock. The holes you drill should be the same diameter as the rods you are using. The holes will need to be bored out a little to make the rod slide in but also be snug.
Once you’ve drilled a few holes, just see what you can come up with. Don’t worry so much about having a vision or planning, just see what interesting shapes you can make with the rods and the rocks.
Once you find a combination you like, you can start using putty or cement to make it permanent. Try to position the rocks on the rods so that the two pieces make good contact or interlock together reasonably well. This both hides the rod and makes a good strong connection.
Prepping the rocks for cement or putty
Once you’re done drilling and chipping, you’ll want to clean the surface for better adhesion. The best way to get rid of all the dust on the rock is to blast it with an air compressor. Dust-free rock makes the cement or putty grab much better. A vacuum can work too, but not as well as an air compressor. Again, wear eye protection.
Putting Rocks together
What you’ll need:
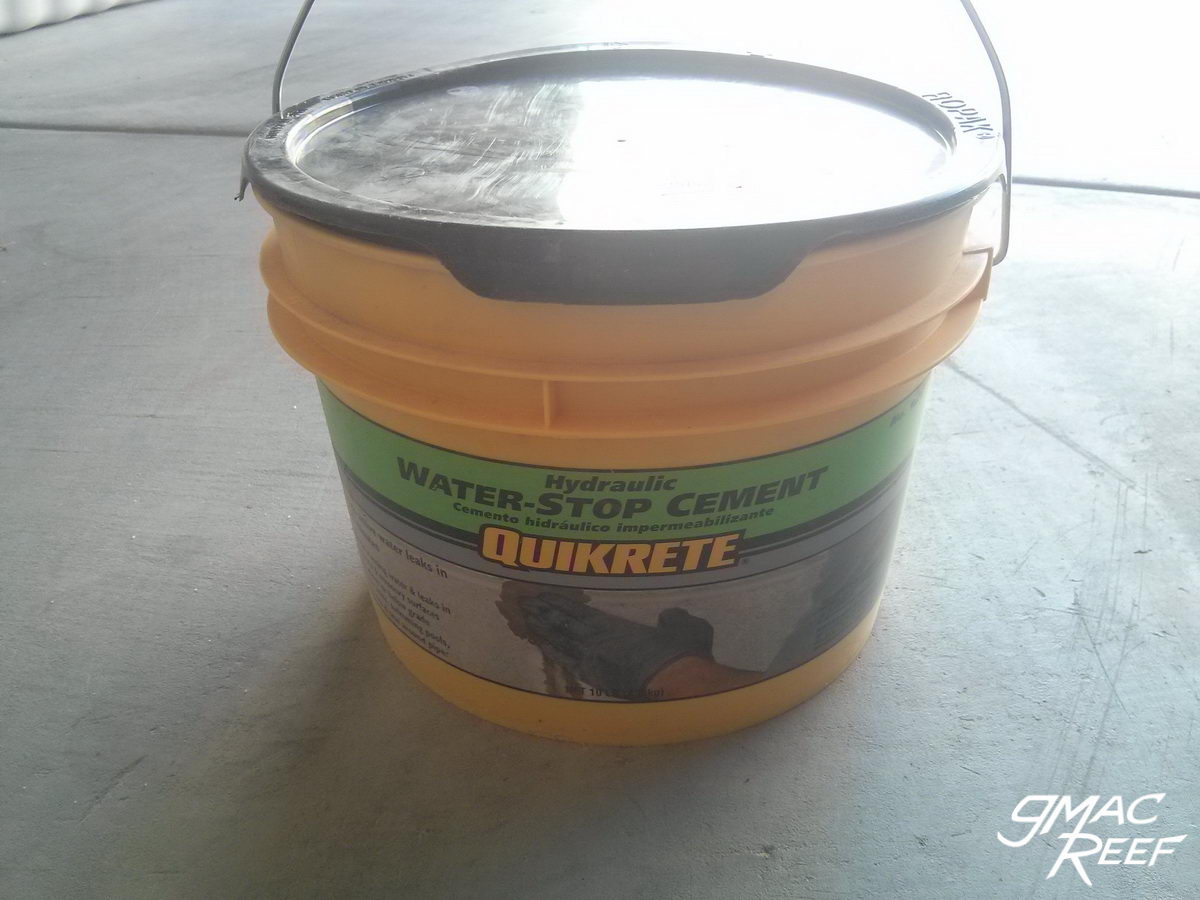
- Cement mix (joining main pieces)
(I used Quikrete Hydraulic cement from Home Depot) - Reef Putty (smaller joints and putting split rocks back together)
- Latex Gloves
- Plastic bowl for mixing / Stir Stick
- Acrylic Rod / Driveway markers etc.
(I used 3/8″ from USPlastics)
2-part putty is good for attaching small pieces (say under 1-2 lbs) or for re-joining pieces that have broken apart. Once the 2 parts are kneaded together the putty becomes sticky and easy to work with.
The putty is a good choice if you need say a 1″ marble-sized amount of material. It’s also good at supporting the weight of larger pieces but you must use a lot of it. It works well but it’s not very cost effective if you have a lot of rocks to join. 20 lbs of (dry) cement costs roughly the same as 1/2 lb of putty.
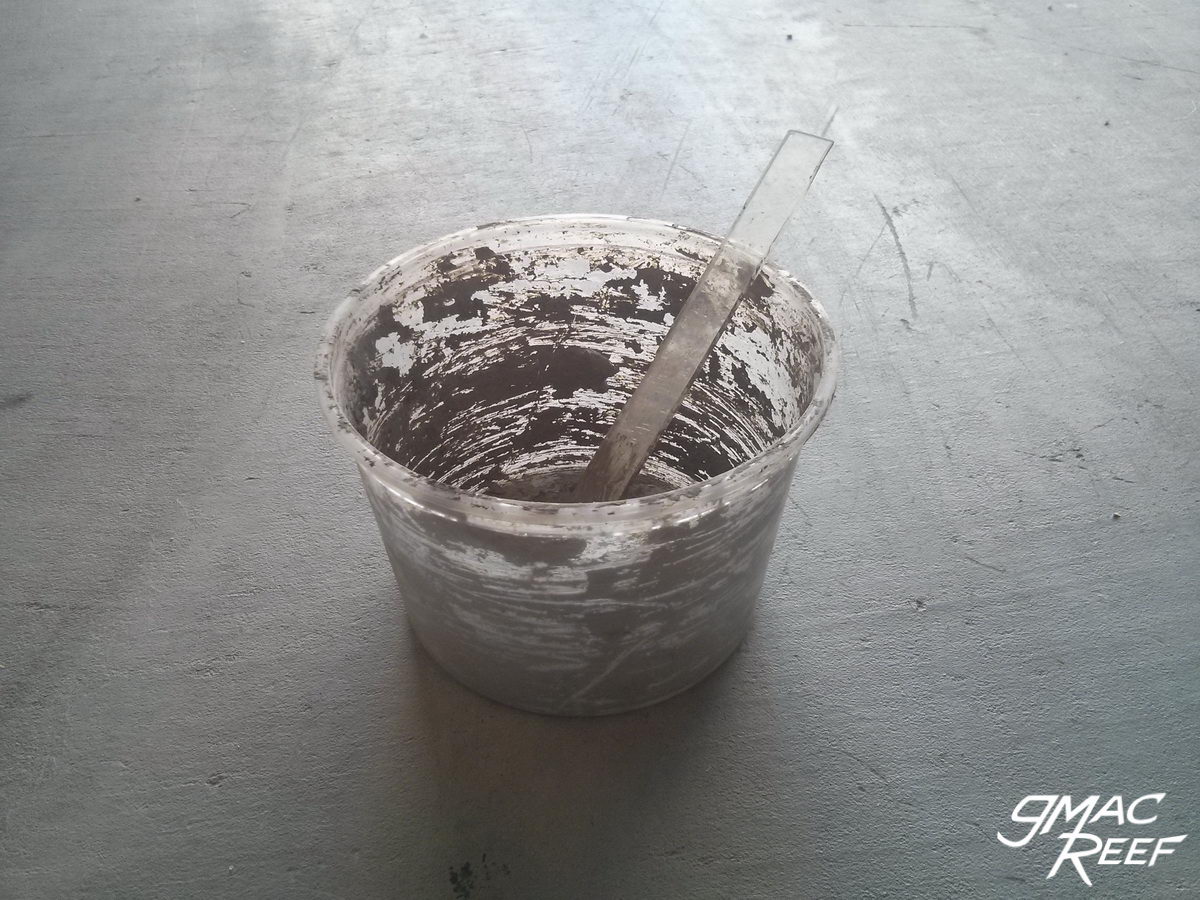
The plastic bowl you use as a mixing container can be reused over and over. It should be scraped out immediately after each batch is made. With a small stir stick, you can start adding water and quickly mixing the mini-batch of cement. After 30 seconds to a minute of mixing, it will start to cure. The time to apply is when it is about the consistency of peanut butter. A Play-Doh consistency means it is too dry – add more water or start over. If the cement is applied at the right consistency, then it will flow into tiny crevices better.
You’ll most likely want to paste the cement onto the rocks with a stir stick rather than your hands. This way you won’t smear the dark cement while getting them into position.
The hydraulic cement is typically very dark gray in color, which kind of clashes with the light color of most dry rock. The cement seams may stand out quite a bit. One way to counteract this to use small pieces of rubble and stick them to the cement seams to camouflage them a bit. The rubble bits should be pressed into the cement seam while it’s still wet. You will have to work pretty fast because it cures quickly.
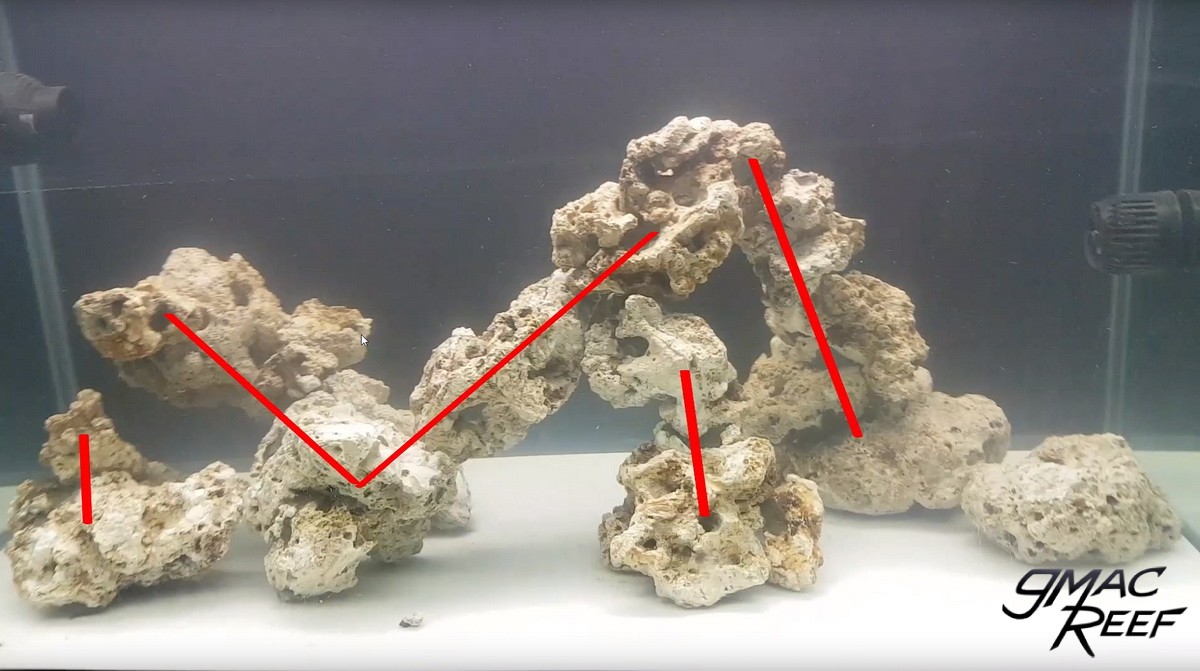
Building a structure.
When you are trying to get creative, taking your time and trying out a bunch of options is the best approach. Just try out different combinations, and see what will look natural or interesting. You can create overhangs, arches and whatever else you can think of. After you join a couple pieces together, you will see your pile start to come together. It’s helpful to walk around the structure so you can look at it from different angles.
It’s a good idea to think about how many main pieces the final structure will be made up of, as it’s going to be much easier to move a few pieces that are 15-20 lbs each rather than a giant one.
Curing and Soaking the Rock
If you are using dry rock, it can be a good idea to soak your rocks in RO water for a few days. With this build I did a 1 week soak in RO water before putting it in the main tank and starting the cycling process for the new tank.
There are a few reasons for doing this. First, if you drilled your rock then there’s quite a bit of dust on them and in all the holes. Good to get that out in the water you drain out early. Second, there are a few types of Reef Putty are known to cloud the water quite a bit. Cement doesn’t seem to, but it’s still a good measure.
Also, some varieties of rock (such as previously live rock that was allowed to dry) may leach phosphates into the water. This can be helped with soaking and changing the water.
While it’s good to use Reverse Osmosis or RODI water for long term soaking, there’s no need to be too concerned with spraying off your rocks or quickly dunking them with water from your garden hose.
Adding to the tank
You want to be very careful when placing the rock inside the tank. It’s best to add it with some water in the tank already, as the rocks will feel lighter from the buoyancy. Be aware of the possibility that the joined rocks will come apart in your hands and fall in. Rocks and glass, need I say more?
If you have any tips of your own, leave a comment! Thanks for reading.
The Dangers of Working with Live Rock
Live rock has the potential to harm you. Palys, Zoas and Xenia are some of the corals that secrete very toxic compounds, but there are others as well. When working with live rock, these organisms can release their poisons. The harmful effects can range from say some skin irritation to a serious medical emergency.
Wear gloves and eye protection if handling live rock or previously wet live rock. Some people boil live rock, but this is not a good idea. Boiling can vaporize toxic substances and make them airborne, making it possible to sicken many people in a household. There are many instances of this in the news.
Soaking previously live rock in a solution of bleach or acid is a much safer and effective method of removing organic material from live rock. Always do this stuff outdoors.
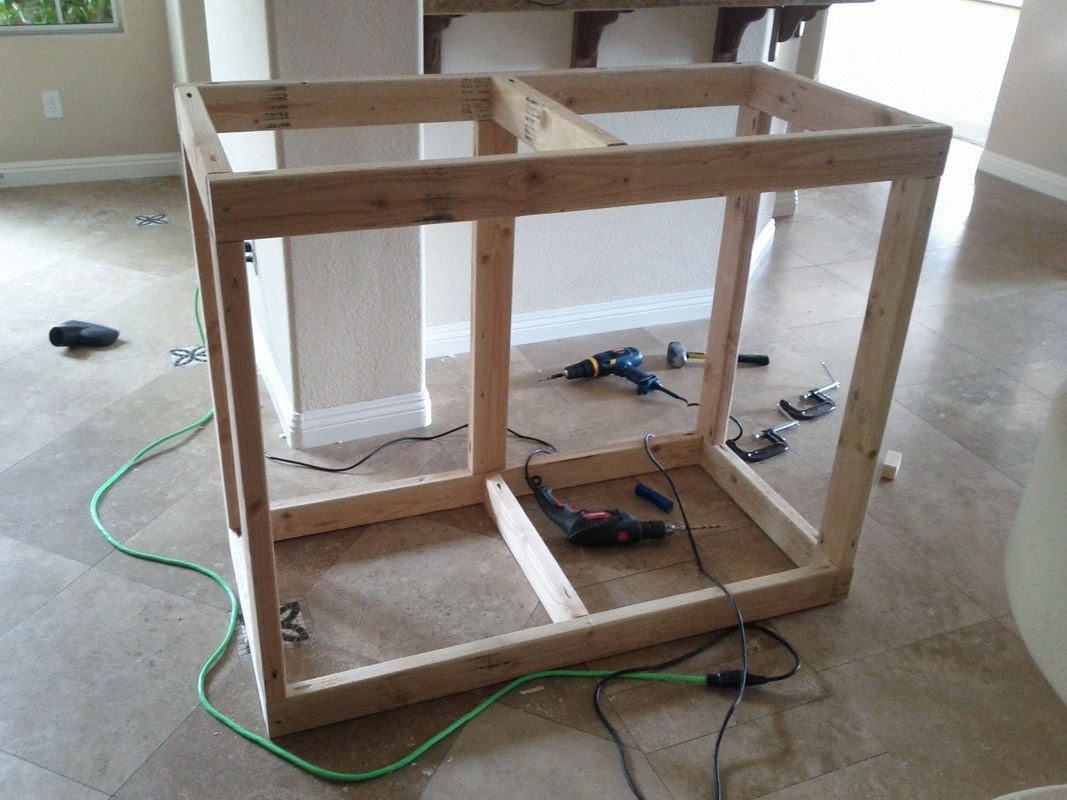
I really found this article very helpful as I am in preparation of building a beautiful 75 gal reef tank. Rock placement, water flow and design I find are those topics that come from experience so this article really helped. This what I have so far, MH lighting, T5 for the other side, custom made aquarium stand I built and top for lights which will be hanging. The bottom will contain my sump, I have a Bubble Magus 5 for this tank skimmer. I still need an overflow and thinking of a Danner Mag 3 or 5 for this tank for return pump. Of course still need plumbing, still deciding whether flex tubing or PVC. Any tips would help. By the way those boxes in the bottom of the tank are all live sand so I have tons of that. Thanks!
Looks like you’re off to a great start! The only thing I think I can advise you on right now is that the Mag 5 will have about the right amount of flow for a tank that size. I might remove this comment after a while because it isn’t related to building a rock structure, but thanks for commenting anyways.
There were a couple things that I tried that seemed to help. First I used a spray bottle with RO water to moisten the rock. The cement appeared to adhere better. I also poured a larger sand particle size over the wet cement and pushed the sand into the cement. Now after several months the rocks are starting to get covered with coralline, so the seams are not really visible. Great article. I’m planning for a 200-300 gallon tank and plan on using your technic to build open rock structures to maximize water flow.
Awesome – I will try that tip with the spray bottle when I cement the rest of my rock pieces. It sounds like the large grain sand would work well. It’s nice to cover the dark cement as much as possible. Thanks for commenting.
Hi did u encounter any problems with the cement or anything leaching back out the cured cement atall?
Hydraulic cement is generally thought of as reef safe. Pre-soaking is generally a good idea and I soaked all my rockwork in RODI for a week, mostly to get loose dust off the rocks. I have not had any problems.
Great thanks very much
Get Outlook for Android
Hey gmacreef done some reaserch. Since following on from ur comments iv since found that cement without lime stops the ph creap. So i bought a bucket of bostick rapid set cementone upon using it i made a piece just cement and dropped it upon 48hours curing. It started to get cyano. So reading more into detail the cement was fine at 65% of the mix but it also has aggregrates undisclosed to what but after a the supplier replied they told me its sand and will be silcates. So…… iv since found that prompt natural cement is perfect as its made for use at sea and adhears to CNP PM NF a standard for sea use. Cheers for ur help