Aquarium Stands come in all shapes and sizes, but in the reef hobby there is a lot of customization that goes on. You often find yourself buying more equipment for your tank, and as you add more things to your tank setup you might find yourself running out of room to put it all.
Why you might want to Build a Reef Aquarium Stand
A little about store bought stands
Wood aquarium stands originating from pet stores or big box retailers are quite common. Most are produced as cheap as possible, and typically constructed of particle board.
With a typical saltwater display tank and sump, many of these stands fall short. Particle board and MDF cannot withstand high humidity or water splashes that happen in the cabinet. When this type of wood gets wet for a prolonged period, swelling occurs. This cannot be repaired, and can potentially compromise the structure of the stand.
Getting Started
This article covers some of the things to consider to build a custom stand for your saltwater aquarium. If you think it through, you get a stand that is useful for years, looks great, and makes things easier for you.
When it comes to maintenance, “Know Thyself”
It is human nature that determines that if something is difficult to do, we are less likely to do it, even when we know we should. When it comes to tank maintenance it is no different.
One reason people end up leaving the hobby is “I don’t have the time for my tank”. This often translates into “doing maintenance is too much of a pain in the butt”. In a lot of ways, you can reduce the pain of the necessary work involved by thinking things through in the planning stage.
First, let’s look at the requirements as far as what kind of equipment we need to put inside the stand. You might not have all of this, but you might want to at some point.
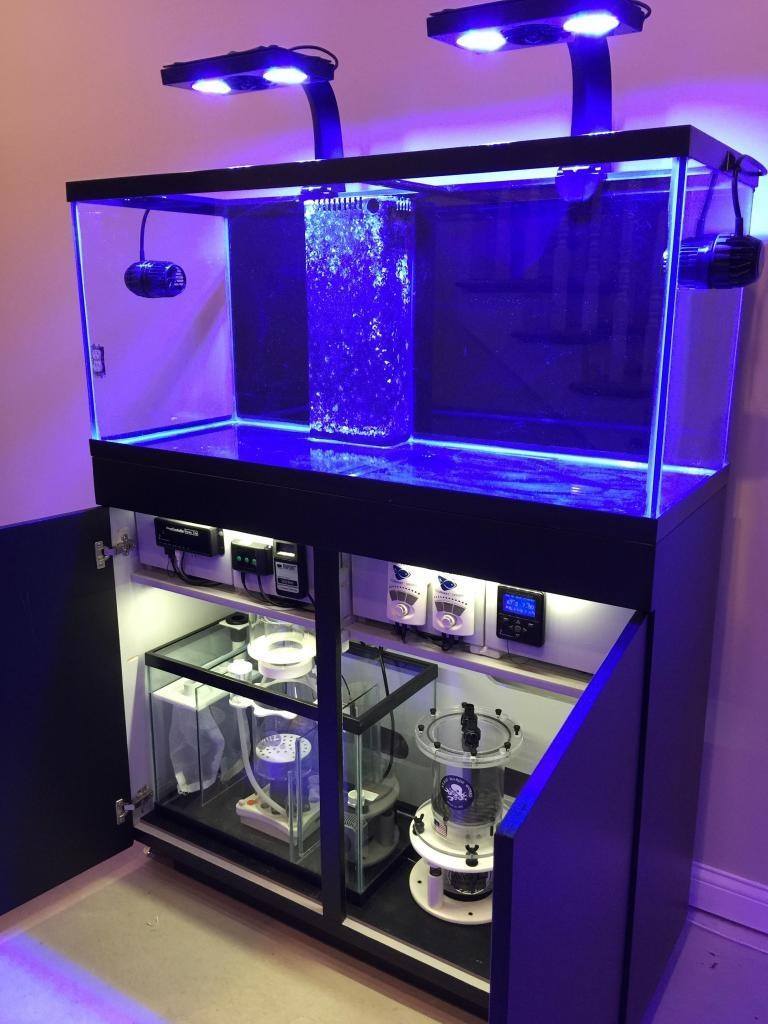
Common Equipment for a Reef tank Stand
- Sump tank
- ATO reservoir
- Drain & return plumbing
- Electronic devices
- Extra room for storage
We are trying to do a lot with a small area. Then we throw in the fact that saltwater doesn’t play well with metal or electricity. It becomes clear that some planning goes into building a good stand.
Basic Requirements for a custom stand
- Provide structural support
- Providing a place for electronic equipment
- Allow you to do maintenance easily
- Ventilate the sump to keep heat and humidity in check
Things that are nice to have
- A place to store commonly used items for feeding or maintenance
- Room for an ATO reservoir
- Lots of access room above the sump
- Accent your home’s design
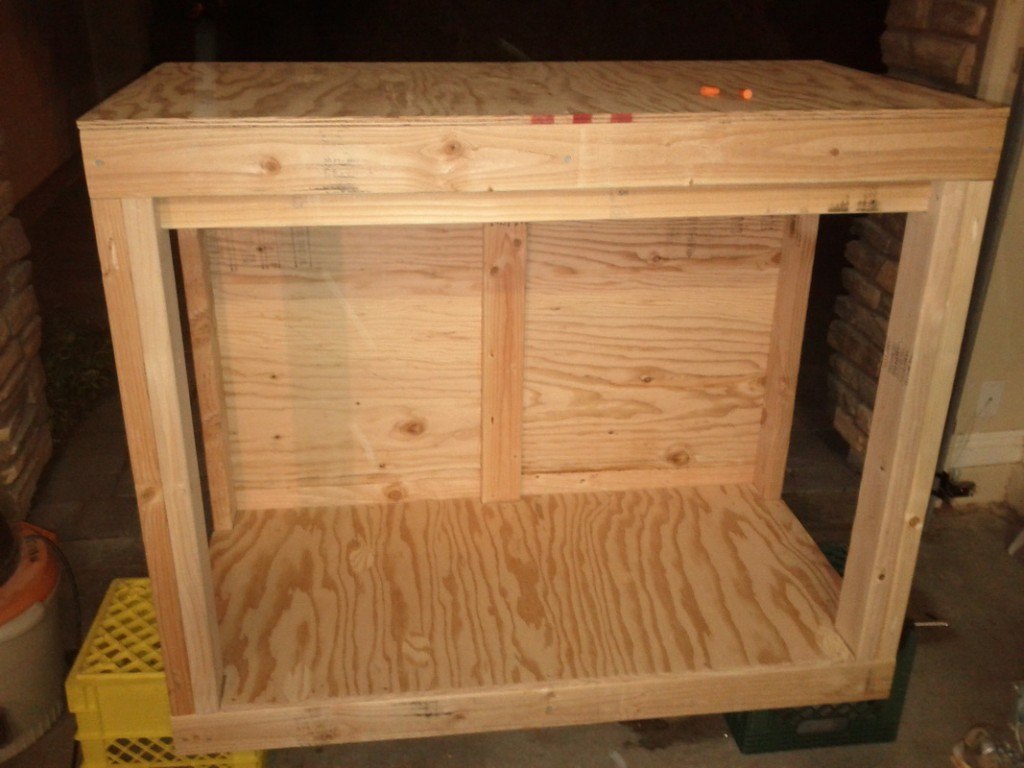
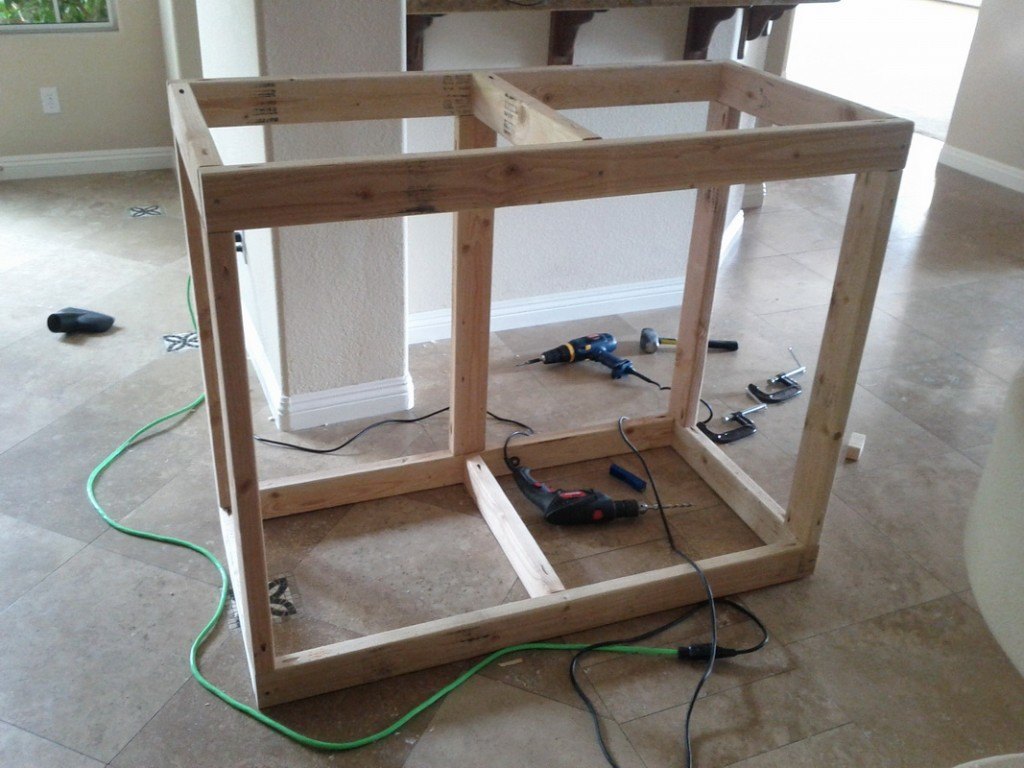
Getting structural support with a frame
A full aquarium will weigh roughly 10 lbs per gallon on the stand, so it needs to be able to support it. Most aquarium stands use an internal frame to support the tank made from either wood or metal.
The stand must also have lateral rigidity to eliminate side-to-side movement or “racking”. This is known as giving the stand Shear strength.
Adding Shear strength to a cabinet is often done by adding diagonal braces. With aquarium stands it is more common to simply add plywood panels to the sides and back of the cabinet. Plywood also helps to keep the frame square and plumb during construction.
Creating a Solid base
Rather than using 4 legs like a table, most stands will use horizontal pieces along the floor to distribute the weight to the floor. This bottom “plinth” is also a good part to start on with construction. One thing you may want to design is to have the sump to be slightly elevated off the ground by about 4-6″. A simple way to do this is to use 2 X 4 or 2 X 6 lumber for your bottom frame plinth, covered with plywood.
A raised sump allows you to siphon with a hose and bucket placed on the ground. Handy for removing detritus or for water changes. This is nice because otherwise you’ll have to use a shop-vac (more work). Raising the sump also has the benefit of creating a buffer zone between the sump and the floor. This is good if you have carpet or hardwood underneath.
Raising the sump also means you’ll lose some vertical space inside the cabinet. You may have to make the stand higher to take this into account.
Stand Height
When you add a sump and a tall skimmer inside a cabinet, some vertical room is needed. Most stands I have built are 40″ tall or more. This allows a nice viewing height when standing, but is a personal preference. Having the tank this high means you’ll most likely have to use a stool or platform in order to reach into all corners inside it. If you don’t want to have to do this, the height of the tank and stand can only go up to your armpits while you are standing. The necessity in this hobby for reaching your arms inside the tank is one reason why most tanks are 24in tall or lower.
Vertical room inside the Stand
Going with a higher overall stand height creates head room inside it. There will be times when you must crouch down and lean into the cabinet to access equipment, and it’s nice to have extra room to move around.
Adding doors and outer panels ie: “Skinning” the stand
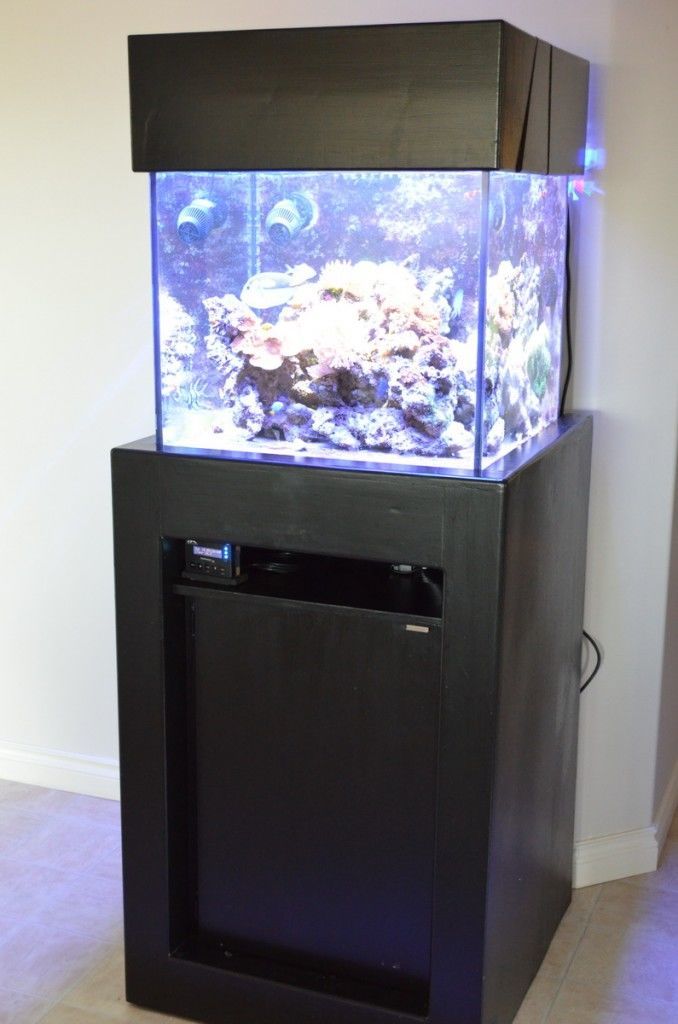
Once the structural frame is complete, you can think about how you want it to look. Most people want the tank to match the other furniture in their home, and will use the right type of wood and paint or stain it.
It can be helpful to think about making the stand modular. A main inner frame provides support, and an outer skin of panels and doors makes it look good.
Removable outer panels have a couple of benefits. If you move or sell the tank later, the look of the stand can be changed without rebuilding the whole thing.
Removable panels can also give you better access to the sump. If you can take them off, you won’t have to reach through small cabinet doors to do things like clean the sump or do other maintenance.
Aquarium Stand Materials
Wood Aquarium Stands
2 X 4″ lumber is by far the most common material for custom aquarium stands. It is cheap, and easy to cut and drill together. Things like power bars can be mounted to the wood without too much trouble.
A stand made of lumber needs to be able to support the weight, but it’s easy to go overboard. Using excess lumber means less room available for equipment, and doesn’t make the stand any better. A lot of stands you see are overbuilt and bulky.
This article is mostly about the planning stage of building a stand.
Metal Aquarium Stands
Steel aquarium stands are made by welding tubing together to create a frame. Typically more expensive to construct than wood, but very strong. The tubing used is much smaller than lumber in size, so that frees up a lot of usable space in the stand.
Anything made from steel should be painted for rust protection. Some people will go as far as getting the steel powder coated, or using a bed-lining material made for pickup trucks.
There are also some stand frames being built with extruded aluminum tubes. These are becoming more popular and made by companies such as 80/20 Inc.. While expensive, aluminum does not rust which makes it a great material in this application.
Distribute the Tanks Weight resting on the stand
A piece of rigid foam is a good addition to your stand build, and goes between the tank and stand. You should also use a piece of 3/4″ plywood under the foam. This is for the tank’s sake to spread out the force of the tank over a wider area.
A new frameless tank will almost always come with the foam already installed. The foam is often pink in color and fairly dense. It is commonly used for insulation of exterior buildings.
While it’s mandatory for frameless tanks, it is also a good idea for conventional tanks with plastic frames too.
Tank Placement in your home
Water itself weights 8.35 lbs per gallon. Add that to an already heavy glass tank full of rocks, and you may be dealing with several hundred pounds. This means that you need a suitable place for the tank and that your home or apartment’s floor can hold up the weight. That is a little out of scope of this article, but of most of the time you only have to worry about this with a tank over 100 gallons.
Proactive design for leak detection
There will always be times when you spill a little water around the sump. This can happen while doing things like pouring in water or removing equipment. These spills are always better to keep contained in the cabinet before they reach the floor.
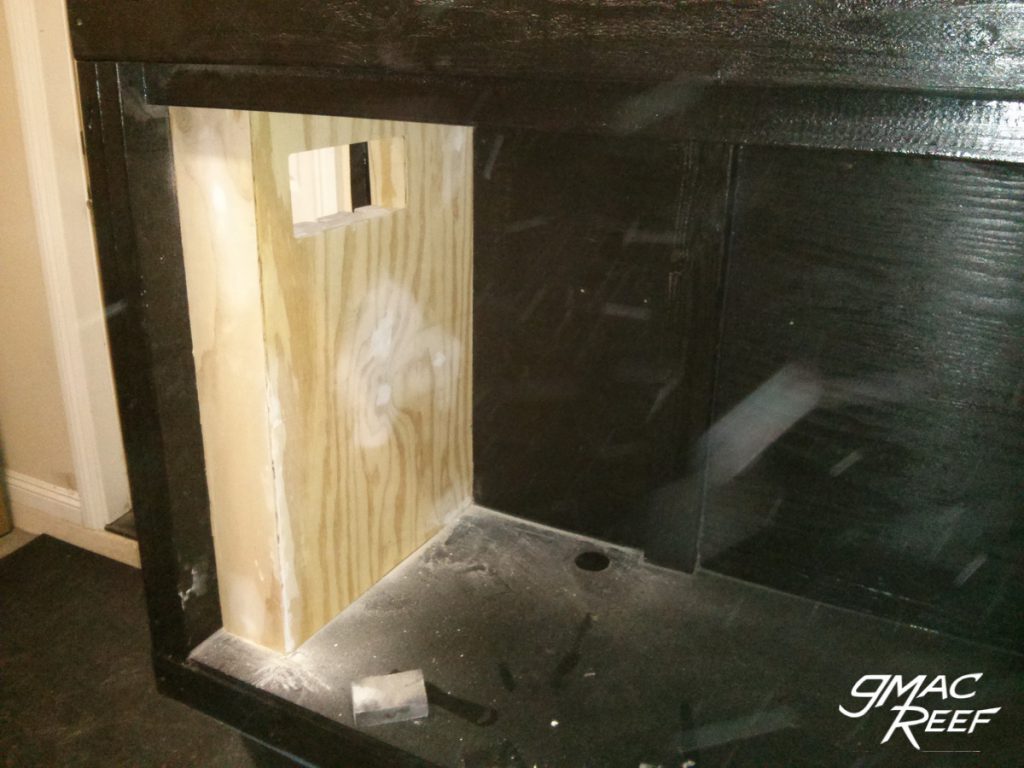
By creating a sort of “dish” where the sump sits, any leaks can be detected before they touch the floor. This is a big deal. Installing a $10 leak detector will alert you if there is a leak in the cabinet. If your stand does not have this feature, then water will simply leak to the ground if something were to happen.
Protecting Electronic Components
The salty, moist air from a sump cabinet will oxidize and rust metal and electronics. In a contained area, this can happen in a hurry.
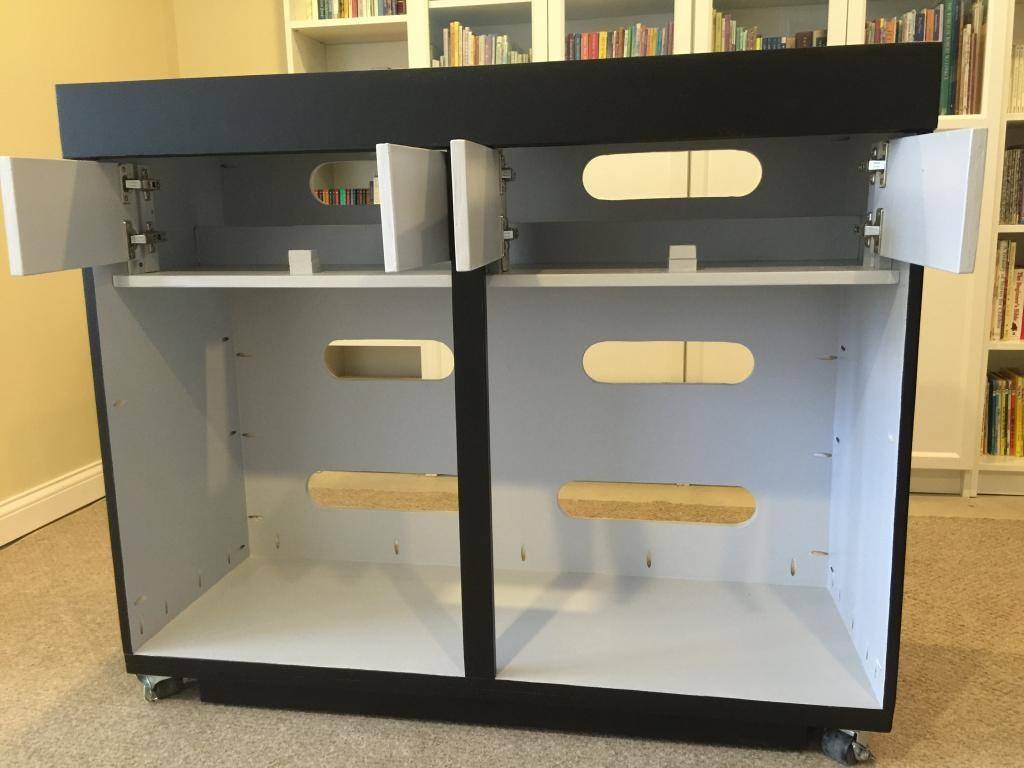
You want to protect the equipment from humidity and water, and be able to access them without too much trouble. Placing a divider between your electronic equipment and the sump is the best way to do this.
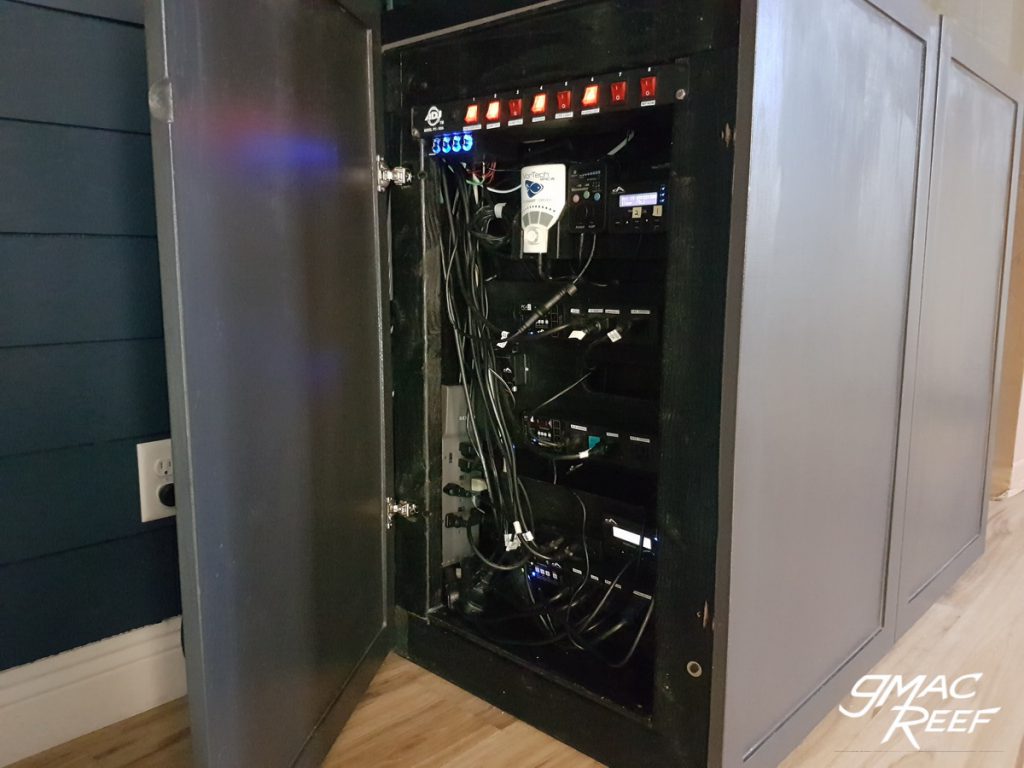
A divider will create a compartment for mounting power bars, timers and controllers. It will also provide an area for excess wire and things you may want to keep dry.
Having your controller or power strips in an easy to reach area makes it less of a chore to unplug things then plug them back in. You will have to do this every time you remove something from the system for cleaning or maintenance.
There are a few ways to cordon-off the electronics in your cabinet.
- A shelf or drawer above or below the sump. This can work well, but takes up vertical room you may need for skimmers etc. There is also a slight caveat – if the area is located above the sump, dropping something into the water becomes more of a risk.
- A side cubby can work quite well. Many people have a door to this area for quick access to switches or outlets. This is also a good method because you won’t have to reach into the cabinet too far.
Heat from power bars and ballasts
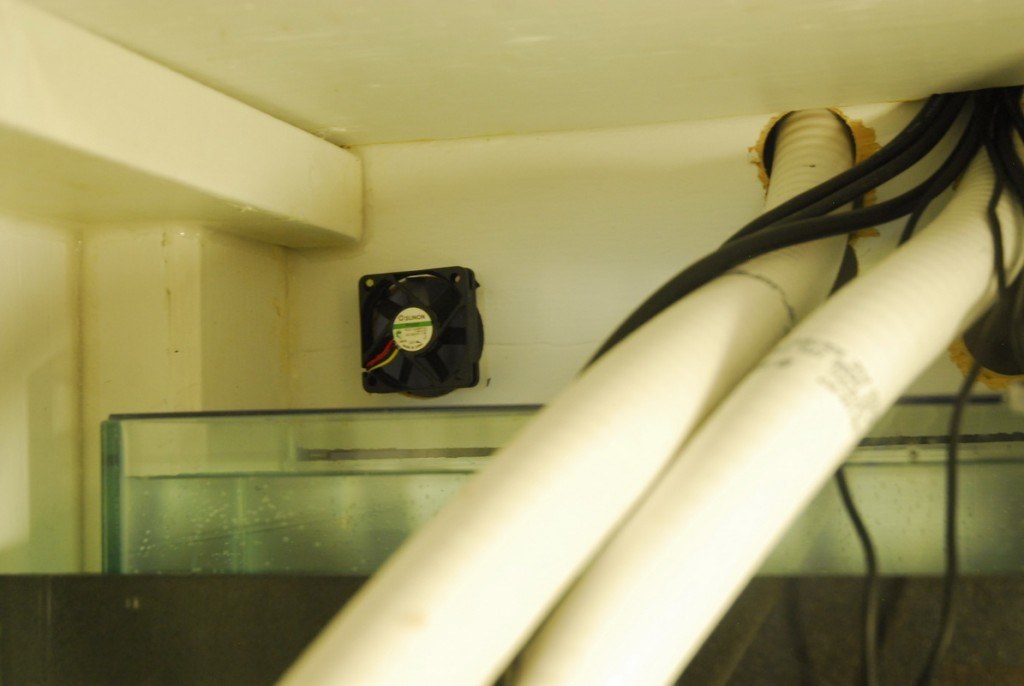
Electronics such as ballasts will produce their own heat. Depending on your setup, this can be an issue or not. You might want to add a small computer fan to ventilate the electronics area.
Easy Access to Pumps and Equipment for Maintenance
You’ll need to disconnect equipment such as pumps for routine maintenance from time to time. Power bars and controllers will need some clearance to allow you to reach back and unplug them. Power centers like this American DJ model are quite popular:
Ventilation of the Sump Cabinet
Running a sump often means having an aquarium in a closed area where humidity builds up.
A well ventilated area will help to keep excess heat and humidity down to acceptable levels. Poor ventilation will lead to condensation forming inside the stand. This environment can warp your wood or destroy your electronic components. Any visible condensation inside the sump cabinet walls indicates poor ventilation. Adding holes in the back wall can help, or a small computer fan to circulate the air.
It is a good idea to get a small thermometer / humidity gauge for inside the cabinet. If heat is an issue, knowing the temperature in the cabinet can help you make adjustments with fans or chillers you may be running.
Making things easy for yourself.
For me, the top time saving things to have in your stand are:
- Large ATO reservoir that doesn’t need filled more than every 2-3 weeks.
- Skimmer neck cleaner such as the Swabbie – removing the collection cup for cleaning can be especially difficult in a tight sump cabinet.
- Easy access to sump and electronics with a large access bay or large doors
- A closed off design that keeps noise from pumps contained

I have two 120mm fans that I was planning on using for under my 90 gallon stand. Is this too much?
I would say no, it’s not too much, even though you could probably get by with just one. You can also make sure the cabinet gets ventilation with large openings in the back or side walls, but I like to use fans because then you can contain the noise. I would use a variable voltage power supply to run the fans at the speed you want.
I am in the process of building a stand for my 90 gallon aquarium, Aqueon 48.5 x 18.5 x 25 3/8. I would like to know what size wood cuts I would need. Also, I saw a video online that showed a design where someone used 4 x 4 for the legs of the stand. Is that okay or is that overkill.
Thanks.
You may be able to find a set of plans online, but it is fairly easy to figure out how long to cut each piece. I do think 4X4 posts are overkill in most cases, and overbuilding just makes the stand way heavier than it needs to be. You also lose area in the sump cabinet if the legs are too large. If you look up the end-to-end strength of even a single 2X2 you will understand why 4×4 lumber is overkill unless you are dealing with a 400 gallon tank.
i am installing a 220 aquarium in my home. I read where you recommend a leak detector for the base of the stand. Well, I agree with you on the and wonder what suggested materials you may have for building that protection ?
Ideally you could find some kind of plastic tray that the sump could fit in, so that if water was to leak outside the walls of the sump, it would collect there. This would be where you place the sensor.
Now finding an appropriately sized pre-made tray for your sump to sit in would be difficult. So another way to do it would be to seal the inside edge of the sump cabinet and then use strips of wood to accomplish the same thing, where you are directing where the water would collect. This will make sure the sensor is tripped before the water can leak outside of the sump cabinet.
I used a PVC Shower Liner to line the bottom of my stand and areas that were likely to be exposed to salt-creep.
Great idea – I will have to look into that when I build my next stand. I have also seen people use linoleum. Thanks for commenting.